GARAGE FLOOR PROTECTOR
POLYASPARTIC POLYUREA
A popular garage floor protector being used on garage floors these days is polyaspartic polyurea coatings.
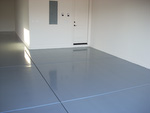 Blue polyaspartic coating |
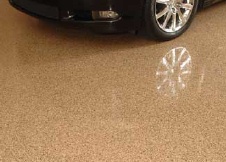 Tan with decorative chips |
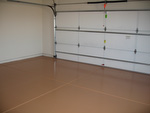 Tan polyaspartic coating |
Until recently, most garage floor protection used, well established, one part or two part epoxy floor paint or urethane toppings.
Epoxy floor paint can have a long cure time and be quite labor intensive to install.
Urethane coatings do have a longer life than epoxies, are very durable, and UV stable, but they require solvents and VOC restrictions limit their use in many areas.
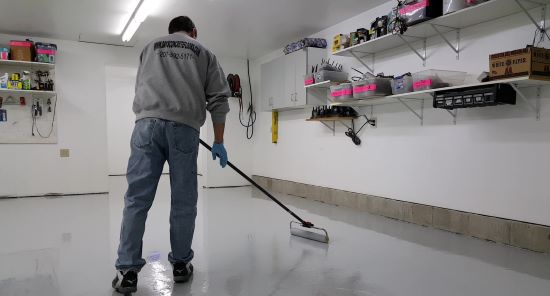
New polyaspartic polyurea technology reduces application time, creating beautiful hard-wear surfaces in one days time.
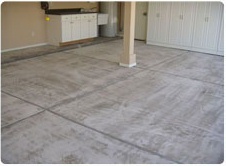 Before coating |
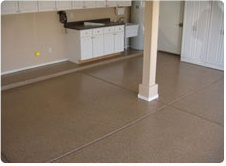 After coating |
The polyaspartic polyurea benefits are:
- UV stable
- Can go on clear or choose from a variety of colors
- Does not yellow, chalk, or fade
- Will cure and harden in all weather conditions (even below zero temps.)
- Has a fast cure speed
- One day application
- Excellent abrasion, chemical, and hot tire resistance
- Excellent retention of gloss and color "like new" look Garage floor protectors like polyaspartic polyurea do not require a deep profile penetration to the concrete surface. They penetrate the concrete with "wetting" capabilities that provide an excellent bonding ability.
Applying a polyaspartic polyurea as protection for your garage floor involves these basic steps.
STEP 1. Repair any cracks or surface defects in the concrete with an epoxy patchmaterial.
STEP 2. lightly grind the floor with a diamond grinding machine, use 60 grit pads. This will help flatten any curled joints and free it from anything stuck to the surface. Clean any dust and debris left behind by the grinding process.
STEP 3. Apply the primer sealer to reduce moisture vapor transmission (MVT). This coat wets and penetrates into the pores of the concrete reducing MVT and enhancing its bonding capabilities.
STEP 4. Mix the two components of the polyurea coating system together.
STEP 5. Apply the tinted primer as the base color for the coating.
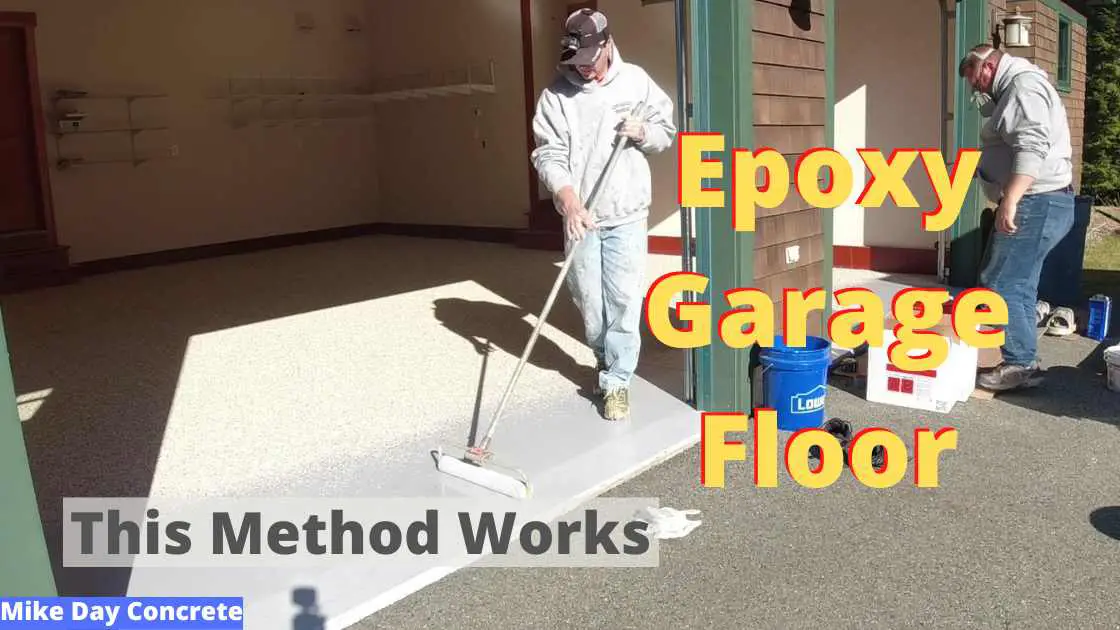
STEP 6. A clear bedcoat is rolled on and decorative chips are applied to the surface. These chips are encapsulated in the clear coat and add strength to the coating.
Completely cover the surface with these chips, after this coat dries, scrape off any extra chips and vacuum the surface.
STEP 7. Apply the finish or top coat. This will give the coating impact, abrasion, and hot tire resistance as well as add brilliance to the topping.
The clear topcoat causes the color to "pop out" and is also an excellent concrete sealer.
If you're looking for the best garage floor sealers and coatings that will last for many years Check out Flexmar coatings for one of the many manufactures of polyaspartic polyureas.
For other garage floor related ideas click on the links below.
Return from Garage Floor Protector to Garage Floor
Return from Garage floor Protector to Everything About Concrete Home Page
