how to pour a concrete slab
My 11 step guide for success!
Updated: March 6, 2023
Author: Michael Day
This is my complete step by step guide that teaches you how to pour your own concrete slab.
Here are the steps:
- How to plan for the pour in advance
- How to calculate and order the concrete
- The tools you need to pour the slab
- What to do before the concrete truck arrives
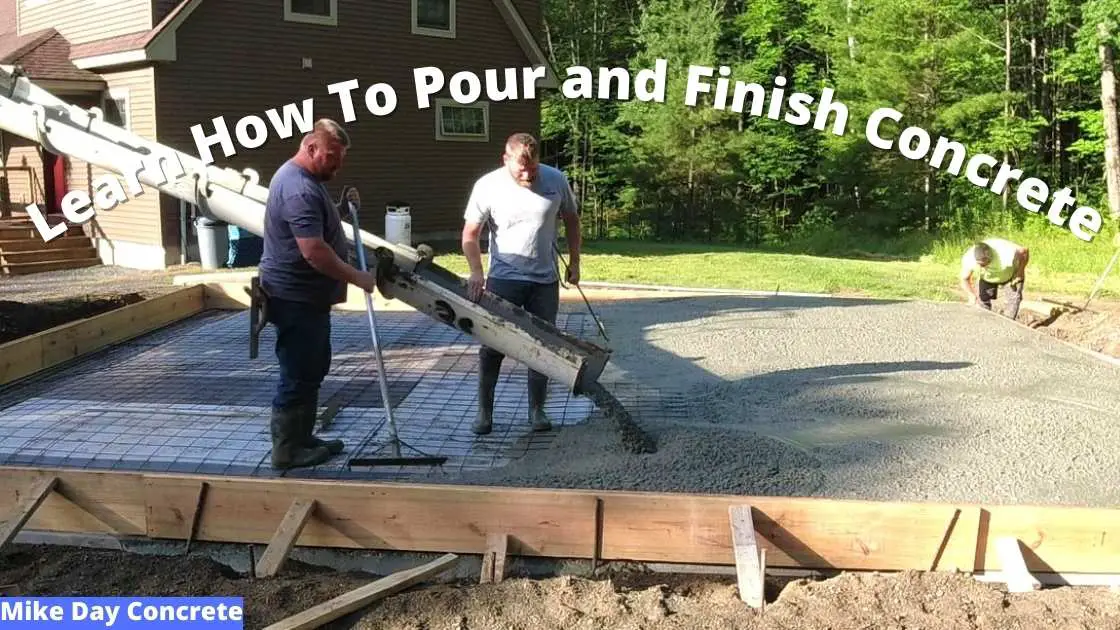
- What to do when the concrete truck arrives
- Where to start pouring the concrete first
- How much concrete to pour out at one time
- What to do first after the concrete is poured out
- How to screed the concrete and get it level
- How to bull float the concrete to get a smooth surface
- Do you need to trowel the concrete?
If you want me to teach you how to form, pour, and finish your concrete slab, find out how HERE.
If you've never attempted pouring your own concrete slab before, I know it can seem a little intimidating.
Or, maybe you have tried pouring some concrete and it didn't turn out quite like you wanted it to.
After reading through my step by step guide and watching my tutorial video, you will have all the information and knowledge you need to successfully install your concrete slab.
Step 1. How To Plan For The Pour In Advance
Before you actually pour the concrete slab there's some things you need to think about and plan for in advance.
Here's my advice and also what I do before pouring my slabs.
- Pick a day when the weather is good. You don't want to pour when there is any chance of rain in the forecast. Ideally, the temperatures want to be between 60 - 80 degrees and no wind.
- Have plenty of help - depending on the size of your slab, you'll want to have at least 2 other people helping you. 3 - 4 people is plenty of help for the average size garage slab.
- Plan on starting to pour early in the morning. If you're doing it on a Saturday I recommend starting at 7 or 8 am. You want to get in on the first round of concrete trucks if you can - trust me - you get fresh concrete and no waiting time.
- Call in your concrete order to the Ready-Mix Company at least a week in advance. They're very busy, if you wait until a day or two before you plan to pour, you probably won't get it first thing in the morning or at maybe not at all.
PRO TIP: If you order the concrete a week in advance and the weather changes during the week and now looks like there's a chance of rain. Just call and cancel the order and RESCHEDULE!
Don't take a chance hoping it won't rain. One 5 minute rain storm could ruin your concrete. Concrete cost way too much to take the risk it could be ruined by a short rain shower.
Step 2. How To Calculate And Order The Concrete
I have some simple formula's I use to calculate concrete yardage for my concrete slabs.
I mostly use a concrete calculator - it really simplifies the process and makes it quick and easy for you.
But if you want to double check yourself using a formula, here's one of the ones I use.
Length (in feet) x Width (in feet) x Depth (in feet) / 27: This will give you your cubic yardage. (27 is how many cubic feet are in a cubic yard)
EXAMPLE: 20' X 20' X .33' (4" thick) / 27 = 4.89 cubic yards
20 x 20 = 400
400 x .33 = 132
132 / 27 = 4.88
For concrete slabs 5" thick use .42' for your depth
For concrete slabs 6" thick use .50' for your depth
If this was my slab and it figured 4.88 cubic yards and my sub-grade (gravel) was pretty level, I would order 5.5 cubic yards from the Ready-Mix company.
You don't want to take a chance on running out of concrete. Trying to figure it too close to save a few bucks could end up costing you a lot more money.
Order at least 1/2 yard more than the slab figures - hopefully you got your sub-grade really level to make calculating the concrete really accurate.
If you run short and have to order a few more wheelbarrow's of concrete, it will cost you a heck of a lot more than that 1/2 yard extra!
Step 2A. How To Call And Order The Concrete
Calling the ready-mix company is really easy. Just search for "concrete ready-mix near me" and the closest concrete delivery company's will show up.
Start by calling the closest one to you and ask for the concrete dispatcher. Don't forget to call at least a week in advance.
When you are talking to the dispatcher, this is what you say: "My name is (use your name), I'd like to pour a concrete slab on (the day you're planning) and it figures (how many cubic yards). Do you have any (or a) trucks available for (7 am or 8 am).
If he/she says YES, then you can tell them you want a 3000 psi mix with 3/4" stone.
If you live in an area that gets freeze/thaw conditions, ask for 3 - 5% air entrainment in the mix.
If you don't have freeze/thaw (winter) conditions, you can use a no-air mix.
If you already have wire mesh or rebar for reinforcement you're good, if not, you can ask for fiber mesh in the concrete mix. This works similar to wire mesh for reinforcement.
It adds 6 - 8 dollars per yard to the cost. I personally use fiber mesh on most all of my slabs and floors whether they have wire or not.
Once all that information is given to the dispatcher, they'll ask for your street address and you should be good to go.
Tell them you will call them the day before the pour and confirm (mainly due to the weather - if it looks like rain then reschedule)
If the dispatcher says NO, there's a couple things you can do.
They may ask if you can go at 9 am or 10 am, if you're good with that, then that's up to you. I like to get the slab poured before the sun gets up too high. Just my preference. (if that's the best available time, then take it)
1. Ask him/her when is the earliest you can get concrete there on that same day. If it's 9 or 10am, then that's going to be ok.
IF it's noon time or later, I would pick another day. If you're inexperienced, you don't want to be pouring the slab (unless it's really small) during the hottest part of the day with the sun beating down on you.
2. Call the next closest ready mix company and see if they have any availability on the day and time you want to schedule.
After you get your order on the books, ask them how they want you to pay for the concrete. They may want a check when the truck shows up, or you may be able to pay with a credit card over the phone.
That's it, you now have your concrete ordered!
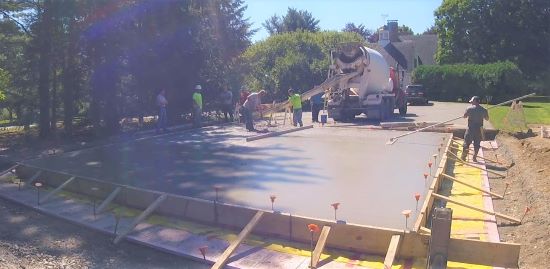
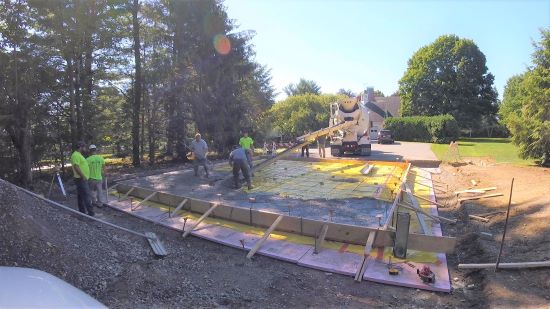
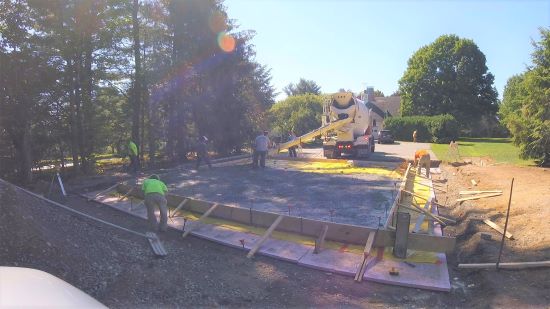
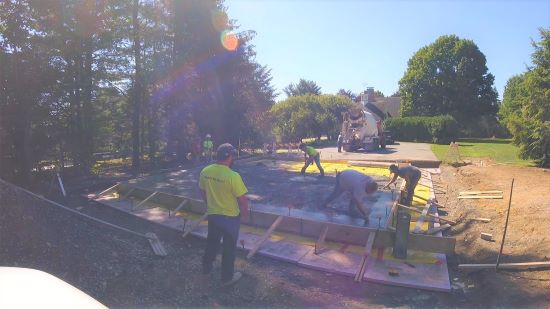
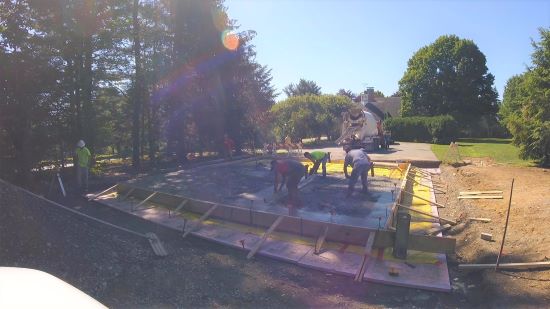
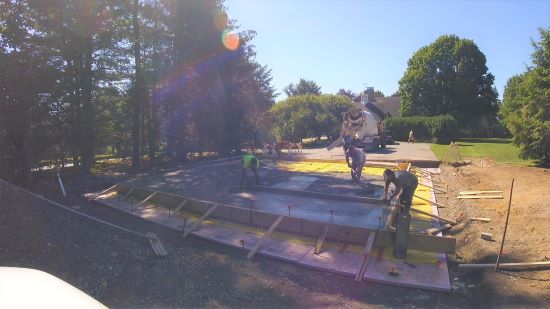
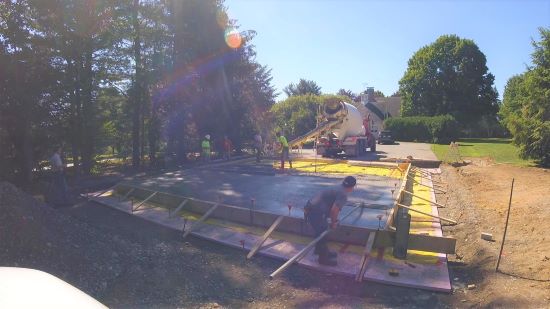
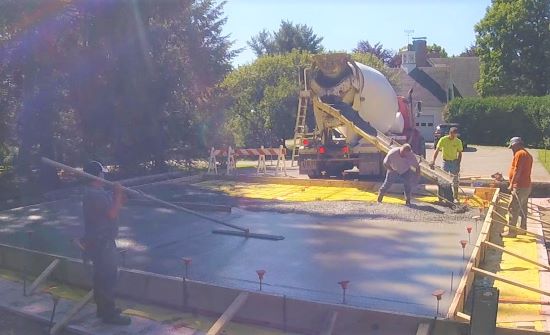
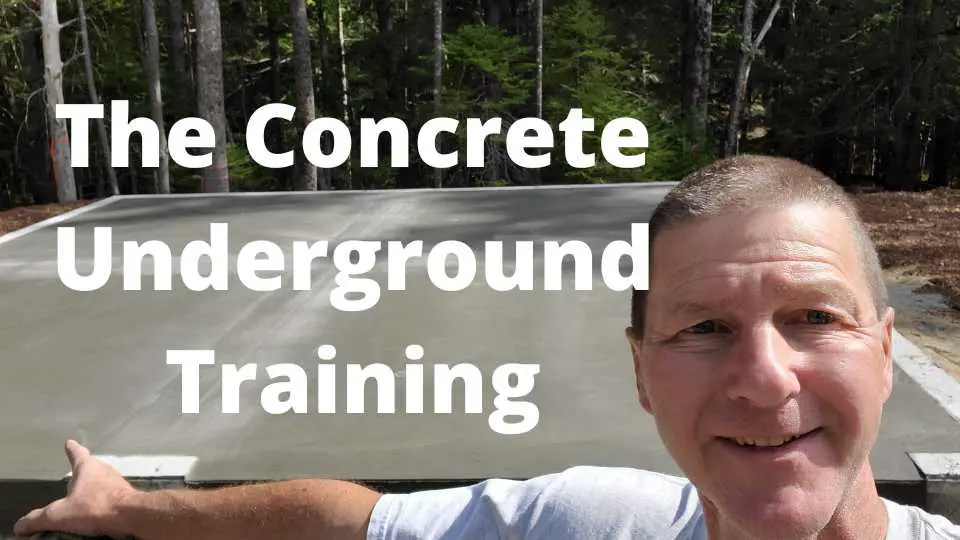
Learn How To Install A Concrete Slab like the one above (Forming, Pouring, and Finishing)
Step 3. The Tools You Need To Pour The Slab
These are the basic tools you'll need to pour the concrete slab with links to Amazon if you need them.
IMPORTANT: These are affiliate links. If you purchase a tool through these links I could make a small commission.
You may also be able to rent most (or all) of these tools at your local tool rental shop.
- Screed or Straightedge (I like the 2" x 12' or 14' ones)
- Bull Float (I like the 48x8 round edge one)
- Bull Float Handles (2) Get the ones that fit your bull float, either threaded or push button
- Kumalongs or Concrete Rakes
- Mag Float
- Laser Level and Grade Stick and Tripod
- Rubber Boots
- Gloves
- Chute Extension (Optional - only if you need extra reach)
- Wheel barrow (Optional - if you can't reach with the chute extension)
Get my FREE PDF GUIDE that tells you everything you will need to form and pour your own concrete slab.
Step 4. What To Do Before The Concrete Truck Arrives On Site
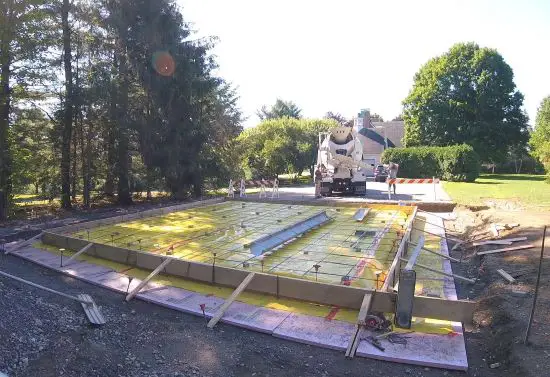
Before the concrete truck arrives on site there's a few things you want to do to be 100% ready:
- Make sure your string line is tight (sometimes it loosens up overnight)
- Make sure you have extra bracers (or kickers) and stakes for your forms - all ready to go in case your boards bow out. (watch my video to see why)
- Set up your Laser and check the top of your forms again (it only takes a minute and ensures all the forms are level.
- Get all your pouring tools out and ready to go.
- Get your rubber boots on
- Have a hose ready to wash off you tools when you're done (if you don't have access to a hose, the truck driver will let you use his when he is done washing down his truck)
- Have a place where the truck driver can wash down his chutes. (He'll need to rinse out just the concrete in his chutes - any leftover concrete in his truck, he can just bring back to the concrete plant and dump out. (unless you want it)
Step 5. What To Do When The Concrete Truck Arrives
When the concrete truck arrives, you'll want to motion to him/her to either drive in or back in. (depending on if it's a front dump or rear dump truck)
When the truck is in place, the chutes go on (they usually have 2 or 3 to put on) and the driver starts to mix the concrete.
YOU MAY NEED TO PAY FOR IT AT THIS POINT ALSO.
He or She will ask what "slump" you want. (how stiff or loose) you want the concrete mix.
I usually tell them I want between a 5 and 6 inch slump. This is a good workable mix that isn't too loose (wet). If the slump is too loose it will weaken the mix.
As soon as the concrete is mixed, you ready to start pouring.
TIP: Have the driver run a little concrete down the chute and onto the ground, if it seems a little too stiff for you, ask him to add a little more water. (watch my video to see the slump we pour it at)
Step 6. Where To Start Pouring The Concrete First
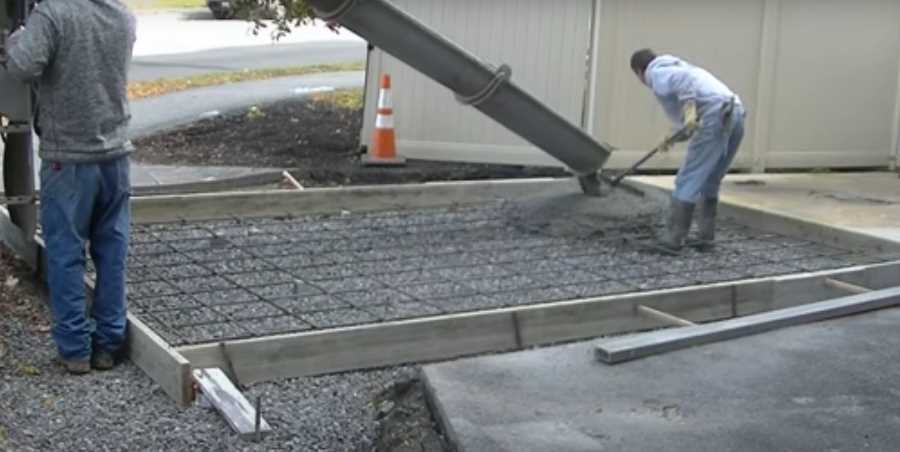
In most cases you'll want to start pouring the concrete at the back of the slab and work you way towards the front.
If you can't reach the back of the slab with the truck's chutes, either use a chute extension, or wheel barrow as much of the concrete as you need to until the truck's chutes will reach.
The truck's chutes will usually reach about 20' if you can get the truck right up to the front edge of the slab. From there you can pull the concrete with the kumalongs another 4 - 6 feet pretty easily.
So anything you need to reach that's 28' or more usually requires a chute extension or wheelbarrow to make it easier to place the concrete.
Step 7. How Much Concrete To Pour Out At One Time
This is going to vary depending on your skill level and how large or small your slab is.
If you've never poured a slab before here's what I recommend.
FIRST, I recommend you take my concrete slab course - it will show you and explain to you in detail how to pour the concrete slab.
It will also show you how to set the forms and prepare for the pour if you need that information also.
If it's a small slab, say 10' x 10', pour out 90% of it, then mag your edges and screed it.
If it's larger, say 24' x 24' or 30' x 30', just pour out a section a little larger than your screed, then make your wet pad and screed that section off, bull float it, and pour out another section.
If you have some experience pouring concrete or have done a slab or two, then you might feel more confident to pour out more before screeding it.
Don't let the concrete truck driver tell you that you have to pour it all out at once and he needs to wash down and get back. You should get about 7 minutes per yard to empty the load, after that they can charge you for extra wait time.
Check on the concrete ticket when the driver shows up, it should say how much time you have to empty the truck.
Step 8. What To Do First, After The Concrete Is Poured Out
Once you have a section poured out this is what you do:
- Mag float your edges - if you set the top of your forms to grade, mag the concrete smooth, even with the top of your forms.
- Use the laser level and grade stick to make your wet pad(s). This is what you'll use to screed from in the middle of the slab.
- Make your screed pad by screeding a section of the concrete from your "wet pad" to the top of your forms. This is usually about a 2' wide section.
Step 9. How To Screed The Concrete And Get It Level
I have some videos I'll link to below that will show you our technique on how to do this.
You'll see how we "kick screed" the concrete level and also how we use a vibratory screed. Both ways work very good, choose the one you feel more comfortable with.
You can rent a vibratory screed, or buy one if you plan on pouring more concrete slabs. This is the one I recommend.
If you decide to purchase the MBW SCREEDEMON, don't forget to get the size screed bar you want.
If you choose to "kick screed", you don't have to kick the concrete like we do, you can just pull the screed 2 or 3 times towards you, stop, step back, and repeat this method.
Kicking and pulling the screed at the same time takes a little practice to get it right.
Step 10. How To Bull Float The Concrete
In the videos you'll see how we bull float the concrete after we screed it.
But basically, you set the bull float on the concrete where you first started screeding it.
Make sure the front edge of the bull float tips "up" a little bit (you don't want it to dig in) and push the bull float over the surface of the concrete slowly until you reach the other end of the screeded concrete.
Then "tip up" the back edge of the bull float and pull it back towards you. If the surface looks smooth, you're good, set over and bull float another section.
If the surface still looks a little rough (some aggregate is still showing) just repeat. Push and pull the bull float over it as many times as it takes to bring up the "cream or paste" and get the surface smooth.
This usually takes one or two passes to accomplish this.
Step 11. Do You Need To Trowel The Concrete?
After you've bull floated the concrete smooth, you can just leave the surface like that. It's pretty smooth, maybe it has some lines from the bull float, but it'll be easy enough to keep clean.
Or.....
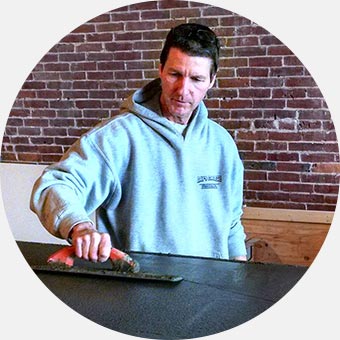
You could trowel the surface, either by hand or by using a power trowel.
Learn how to bull float and trowel concrete HERE.
I'll have a video of each method below for you to take a look at. Both methods require some skill and there is a learning curve to each one.
One other method for getting the surface a little smoother than a bull float is to use a FRESNO. This tool is similar to a bull float but it's more like a trowel and leaves the surface smoother after using it.
The Fresno would be used a short period of time after the bull float. Depends on the temperature and how fast the concrete is setting.
It might be 15 minutes, 30 minutes or 1 hour. Generally, it's as soon as any surface water dries up but the concrete is still quite soft.
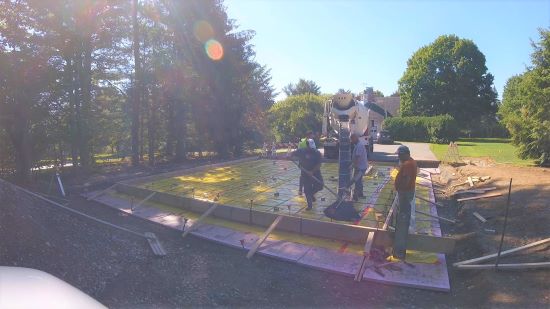
You can watch us pour this concrete slab on YouTube HERE!
Don't forget to "Like", Share, and Subscribe to my Channel!
