POURING A CONCRETE SLAB
Pouring a concrete slab is easy if you've done it hundreds of times like we have. But if you've never done it before, pouring a slab can be a little intimidating.
Pouring concrete slabs isn't something most people do everyday. If you've ever watched someone who pours slabs for a living, they can make it look really easy. That's because they pour the slab in steps.
I'll show you how to pour a concrete slab like we do so you can have the confidence to do it yourself.
If you need to know how to prepare a concrete slab to pour, click on FORMING A CONCRETE SLAB to learn how to set up the forms and get it ready for the pour.
The tools you'll need for pouring a concrete slab are: rubber boots, gloves, magnesium screed, bull float, metal rakes, mag float, shovel, and maybe an extra concrete chute.
Watch Us Pour A Garage Slab!
HOW TO POUR A CONCRETE SLAB:
STEP 1. After you've formed up the slab and you're all ready to go, you have to figure how much concrete you'll need. Use this concrete slab calculator to figure how many cubic yards of concrete you'll need to do your slab.
Pick a good day with no rain in sight and call the closest redi-mix company in your area to order your concrete. Start early in the morning if you can, especially if the temperature is going to get really hot that day.
We order fibermesh in the concrete for reinforcement instead of using the wiremesh. We also drop in 2 rows of rebar around the edges after we have poured out the concrete and sink it down about 2 inches from the surface.
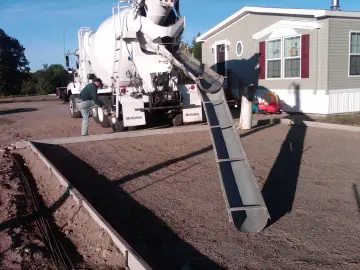
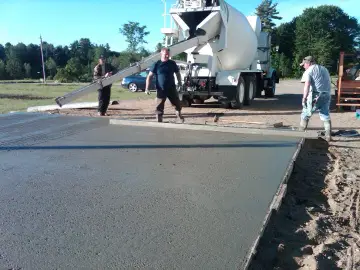
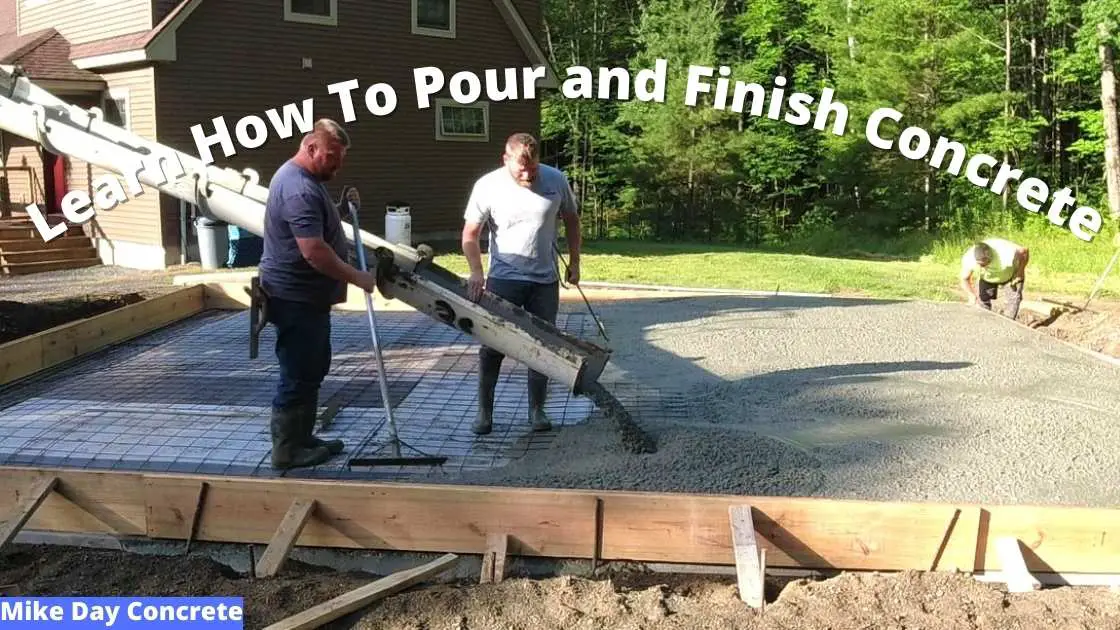
When the concrete truck arrives, back the truck up to the forms. You may need an extra concrete chute to reach the back if the slab is over 20 feet deep.
STEP 2. When you're pouring a concrete slab you need a mix, or slump as we call it, that is easy to work with.
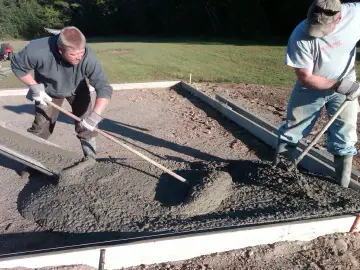
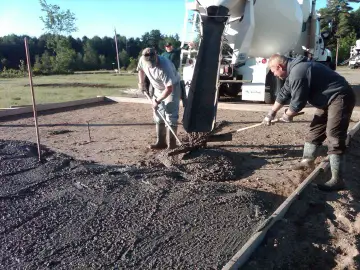
Ask the concrete truck driver to mix the concrete between a 5 and 6 inch slump. This mix is easy enough to move around, but not too wet to weaken the concrete. Start pulling and pushing the concrete around until you fill it to the top of the forms.
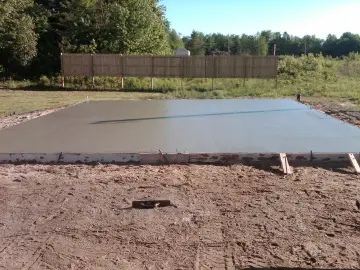
Keep pouring the concrete until you have enough on the ground to work with. This is a 26' x 26' concrete slab, we usually pour out half of it before we start doing anything else. You may only want to pour out a quarter of a slab this size before you start to level it.
STEP 3.
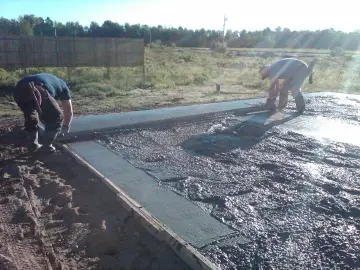
When you have enough concrete poured on the ground, you have to level it. Use a hand mag float and smooth out the edges with the top of the forms. Don't forget to sink in the rebar first.
We use a metal stake for the center grade and put a nail through it at the same level as the top of the forms.
The stake is pre-drilled with holes for the nails. We mag a smooth "wet pad" using the nail we set to grade with a laser level when we formed the slab. After we have the pad smoothed to grade we pull out the stake.
We use this "wet pad" to screed the concrete level in the middle and the top of the form for the edges. You may want to set a screed rail all the way down the middle using metal pipes or a 2x4 if you think it would be easier.
Set these the same way as you did the outside forms, then after you've screeded the concrete level just pull them out and shovel some concrete in the groove they leave behind.
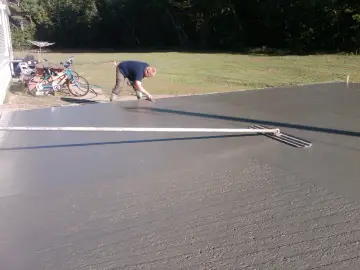
STEP 4. Pouring a concrete slab and getting it level is very important. Start on one side and screed off the top of your forms and the middle pad using a magnesium screed. Kind of ride it on the back edge and pull the concrete down using small 6 to 8 inch strokes.
Using a sawing motion works O.K. We like to "kick screed" the concrete by pulling it a little at a time using the back edge of the screed.
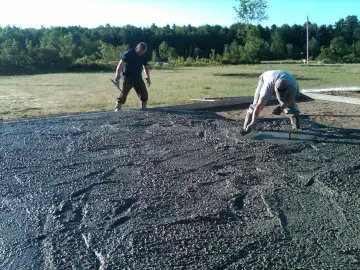
After you've done one side, set over and do the other side the same way. Continue pouring the slab in sections until you have it all filled. Don't worry about it being too rough right now just get it level. You will smooth it out in the next step.
STEP 5.
After you've poured the slab and leveled it, now you need to smooth it out.
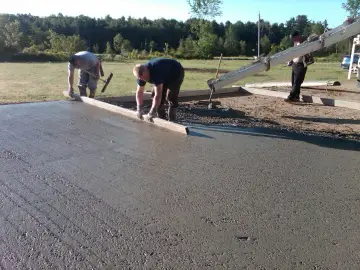
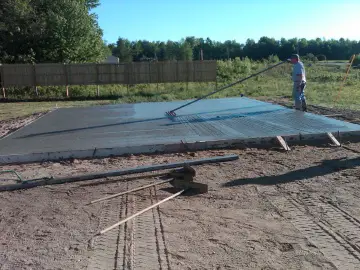
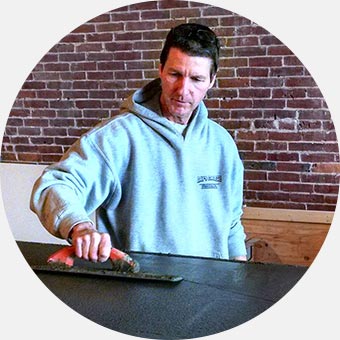
Using a bull float, push and pull it over the surface of the concrete immediately after you've screeded it to settle the rocks, fill any holes, and bring the "cream" or paste up to the surface of the slab.
Continue to do this all the way around the slab until you have bull floated the entire concrete slab. Mag the edges again to remove any lines left by the bull float when you picked it up after each pass.
STEP 6. If you are going to use anchor bolts, install them right after you get done bull floating. They will sink in very easily, right to the level you want, if you do it now.
If you wait too long, the concrete will begin to set and you might have to pound them in with a hammer.
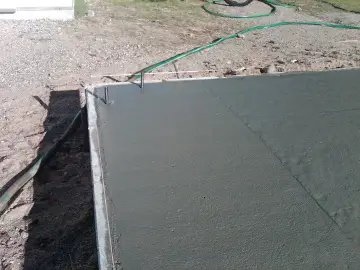
Pouring a concrete slab isn't really that hard if you have a plan and enough help. Pouring a concrete slab this size takes us about half an hour.
It might take you an hour, that's O.K. the concrete shouldn't start to set yet. If you don't think you can pour a concrete slab like this in an hour or less, you might want to consider hiring a professional.
Once the concrete starts to set it becomes harder to level it out and then you have to give it more water to make it workable again. This weakens the concrete and can lead to more shrinkage cracking in the concrete sometime in the future.
Need more help?
My Concrete Slab course will teach you all you need to know!
I know a lot of you want to save a lot of money and install your own concrete slab.
But..... You still have some doubts as to whether you can do it yourself or not.
Or..... You believe you can do it yourself but you still have a few more questions you need answered before you start.
That's why I created the Concrete Slab Course to erase any doubts and answer all your questions.
The Concrete Slab Course will teach you all you need to know about forming the concrete slab and getting it ready for the pour. " I have a 6 step process I use when I form my slabs".
And... It will walk you through pouring the concrete slab. "I teach you how to pour the slab just like we do it for our customers."
The price of the course is $97.00. By taking the course and doing the slab yourself, you'll be saving hundreds, maybe thousands, of dollars by not having to hire a professional.
I'm so confident the course will offer you a ton of value, and save you a ton of money, If you buy it and it doesn't help you, I'll refund your money in the first 30 days of buying the course!
Check it out HERE
Check us out pouring a concrete slab!
You can watch us in action! Here's a video that shows you how we pour a concrete slab.
If you'd like to see more videos like this, please subscribe to my channel.
You can find what I charge to install a slab here at Concrete slab cost.
You may also want to check out my Concrete Calculator.
If you're mixing concrete from scratch, you'll want to read about my concrete mixing ratios.
