How to build a diy concrete patio:
my step by step guide for beginners
Building a concrete patio is a great way to enhance your outdoor space and create an inviting area for entertaining, dining, or simply relaxing. With the right tools, materials, and a little bit of know-how, you can create a beautiful and functional patio that will last for years to come.
Whether you're a seasoned DIYer or a beginner, this guide will provide you with all the information you need to build your own DIY concrete patio slab.
In this blog post, we'll cover everything from planning and preparation to pouring and finishing the concrete. You'll learn about the tools and materials you'll need, how to calculate the amount of concrete you'll require, and how to mix and pour the concrete to achieve the desired thickness and finish. We'll also provide tips for curing and maintaining your concrete patio slab to ensure its longevity.
So, if you're ready to transform your backyard with a stunning concrete patio, let's get started!
Step: 1 Planning and preparation
Before you start building your DIY concrete patio, it's important to do some planning and preparation. This will help you ensure that your patio is the right size and shape for your needs and that you have all the tools and materials required for the project.
the layout: determine the size and shape of your patio
When it comes to determining the size and shape of your new concrete patio, there are several things to consider. Here are some suggestions to help you determine the ideal size and shape for your patio:
- Consider your needs: Think about how you'll be using your patio. Will you be entertaining large groups of people, or do you simply want a small space to relax outdoors? Will you place furniture on the patio, such as a table and chairs or a barbecue grill? The answers to these questions will help you determine a final square foot size.
- Account for traffic flow: Make sure to leave enough finished surface for people to move around on the patio comfortably. Consider the width of walkways and the spacing of furniture to ensure there's enough room for everyone to move around.
- Account for obstructions: Consider any obstructions that may be present in the area where you're planning to pour the concrete, such as trees or utility lines. Make sure to leave enough space around these obstructions to avoid any potential problems.
- Think about the style of your home: Consider the architectural style of your home and the surrounding landscape. Your patio should complement the style and aesthetic of your home and add to the overall curb appeal.
- Consider the orientation of the patio: Think about the direction your patio will face and how that will impact your use of the space. For example, if you want to use your patio in the evening, you may want to position it so that it gets the most sun during the afternoon and evening.
- Take inspiration from other patios: Look at photos of other patios to get inspiration for the shape and style of your own patio. Consider factors like the size and shape of the patio, the materials used, and the overall design aesthetic.
tools and materials you need:
- Concrete mix
- Water
- Wheelbarrow
- Shovel
- Steel Trowel
- line Level
- Tape measure
- Screed board
- Wood Float or magnesium float
- Broom
- Sealer
- Rope
- Carpenter's square
- sledgehammer
- bull float
- Concrete mixer
- Wooden stakes
- rubber boots
- Plate compactor (optional)
- Circular saw
measure and mark the area:
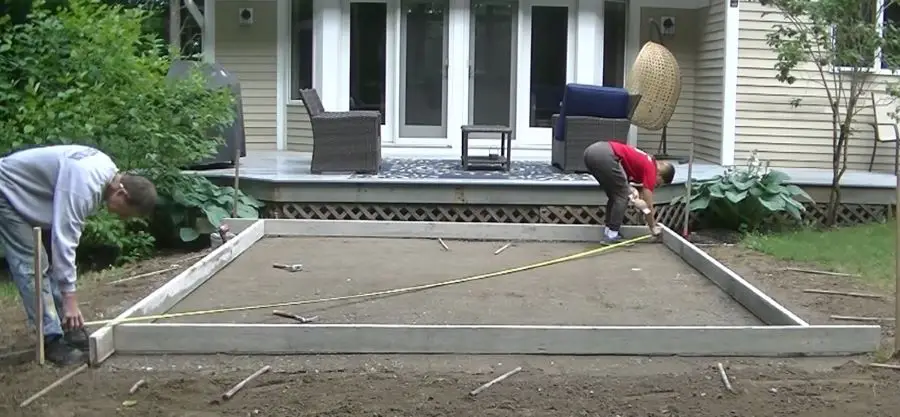
To determine the size and shape of your concrete patio slab, you'll need to measure and mark the area where you'll be pouring concrete. Start by using a tape measure to determine the length and width of the area.
Once you have these measurements, use wooden stakes, a string line, and a line level, to create a perimeter and mark the corners of your patio. Make sure to drive the stakes firmly into the ground and tie the string tightly, and level, between them so the string doesn't sag.
To make sure the slab for your patio is square, use the 3-4-5 rule. This rule states that a triangle with sides measuring 3, 4, and 5 feet will always have a 90-degree angle at the corner opposite the 5-foot side.
To apply this rule to your patio, measure 3 feet from one corner along one string, and mark the spot with a piece of tape. Then measure 4 feet from the same corner along the other string, and mark that spot with a piece of tape.
Finally, measure the distance between the two tape marks. If the distance is exactly 5 feet, your patio is square. If not, adjust the string until you achieve a 3-4-5 triangle, and then re-measure and mark the area.
If you're working with curved concrete for a patio, you can use a flexible hose or rope to create the curve. Lay the hose or rope on the ground in the shape of the curve you want, and then use stakes and string to create the perimeter around the curved shape.
Once you've marked the corners of your patio, use spray paint or chalk to mark the perimeter of the planned patio directly on the ground. This will make it easier to see the outline of your patio as you begin to prepare the site for pouring the concrete.
step 2: prepare the site for your diy concrete patio
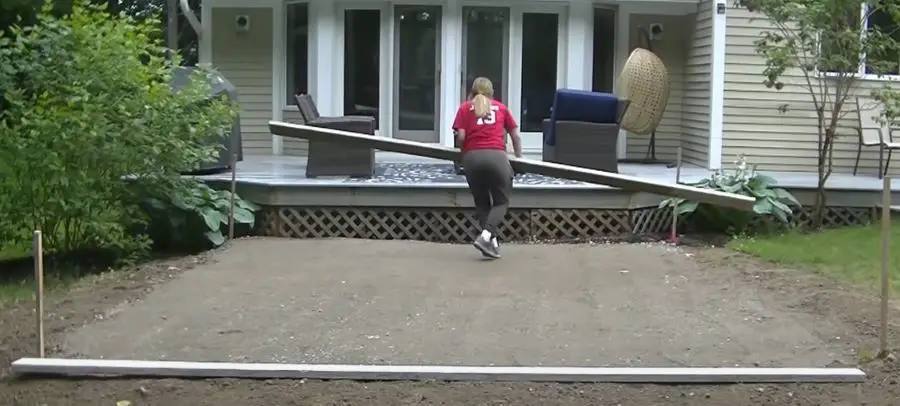
Excavate the area and Install a Gravel base:
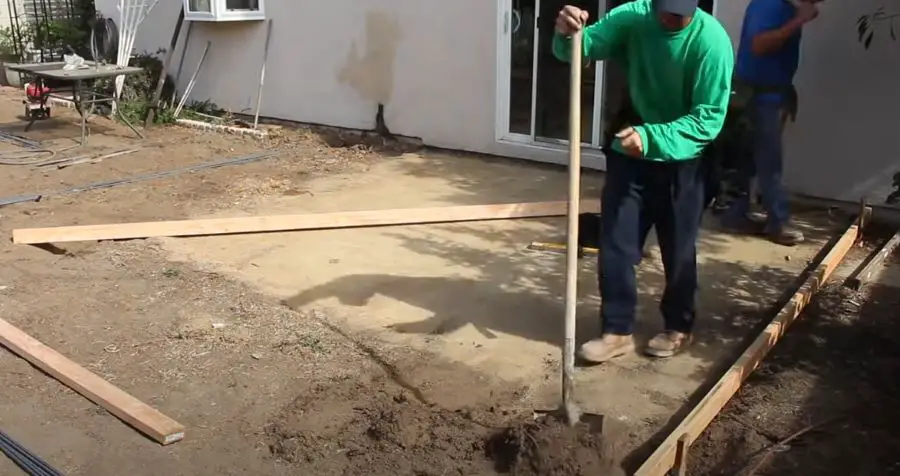
- Start by removing the sod from the area where you plan to pour your concrete patio. Use a sod cutter if you want to reuse the sod elsewhere in your yard. Otherwise, use a square-end spade to cut away the sod. Make sure to strip off the sod at least 6 inches beyond the mason's strings.
- Once you've removed the sod, it's time to excavate the site. Dig out the original soil for your patio, making sure to excavate at least 10" deep, four inches for the thickness of the concrete, and six inches for the new gravel. The sub-base should also extend at least 6 inches beyond the project area to ensure proper drainage.
- Use a straightedge and level to check the slope of the patio. To create a slope, shift the level layout lines on opposite sides of the project downward on their stakes. The lower end should be farther away from the house. A good rule of thumb is to slope the sub-base 1/8" per foot away from your house.
- Once you've excavated the site, it's time to add a sub-base. Install a 6-inch-thick layer of compactible gravel and use a tamper to compact it. Start by spreading gravel in 2-inch layers, compacting each layer as you fill it. This sub-base will provide a stable foundation for your concrete patio and ensure proper drainage.
- After installing the sub-base, use a level and straightedge to check for any low or high spots. Make any necessary adjustments by adding or removing gravel and compacting it until the surface is level.
what if your patio concrete slab butts up against your house?
When installing a poured concrete patio next to a house or garage, it's important to create an isolation joint to prevent the wet concrete from bonding with the structure.
Glue a 1/2"-thick piece of foam isolation strip to the foundation of the adjoining building to create this joint.
The foam creates a bond break between new concrete patios and existing buildings, allowing them to move independently and minimizing the risk of damage.
Step 3: Building the forms for a DIY concrete patio
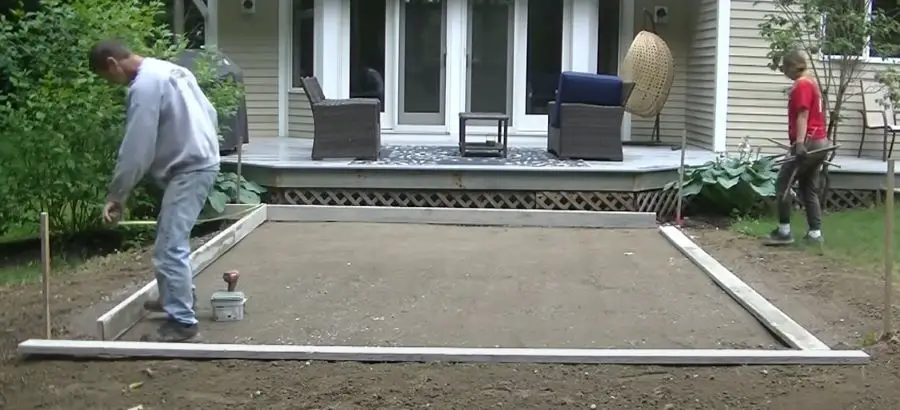
After you've planned and prepared the site for your DIY concrete patio, it's time to build the forms. The forms will contain the concrete and help create the shape and thickness of your patio slab. Here's how to build the forms for your patio:
1. Measure and mark the height of the forms
The first step in building the forms for your patio area is to measure and mark the height of the forms. This will help ensure that your concrete slab is the right minimum thickness of 4". Measure the height of the concrete forms using a measuring tape and mark the height on the stakes you installed in step 2 of the preparation process. Make sure the marks are at the proper level, especially if you have a slope in mind.
2. Cut the form boards to size
Next, cut the form boards to size using a hand saw or a circular saw. You'll need boards for each side of the patio, as well as extra boards to brace the forms. You can use regular 2x4's or 2x6's depending on your patio slab's thickness.
Pro Tip: If you're pouring a curved edge to your patio, I use Azek 1x4 PVC trim boards as these curve easily but are still quite rigid for strength.
3. Assemble the form boards
Once you've cut the form boards to size, assemble them using screws or nails. Make sure the boards are level and plumb when you stake them in place. Use a 4' builders level or a Laser level for an accurate way to set the forms to grade. You can brace them with extra boards or stakes as needed.
adding reinforcement to a concrete patio
Adding wire mesh or rebar reinforcement is a great idea for any concrete slab in the backyard because it can help improve the durability and longevity of the patio.
Concrete is a strong material, but it can still crack over time due to various factors like soil movement, weather changes, or heavy loads.
Reinforcements, such as wire mesh or rebar, are added to concrete slabs to create a slab that can better resist these factors and remain stable and strong over time.
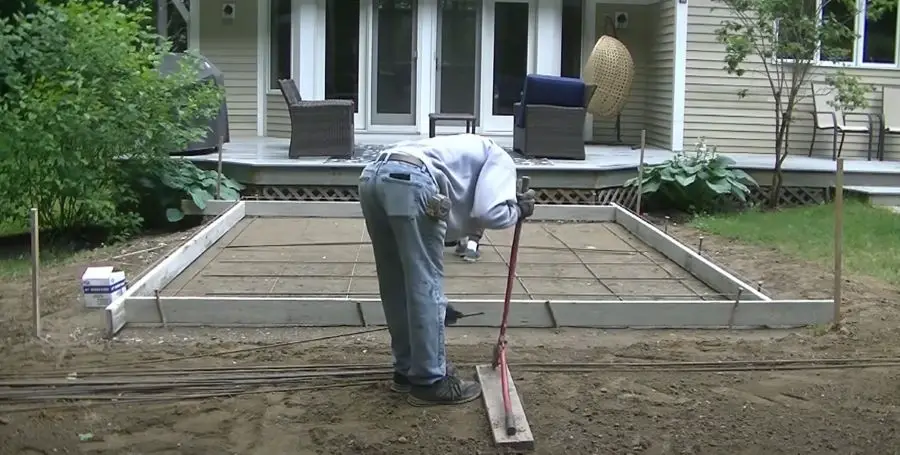
Wire mesh is a flat sheet of light gauge wire, usually 5' x 10' in size that can be placed inside the forms, and it covers the entire area to be poured.
Rebar is a steel reinforcement bar that is placed in the formwork and tied together in a 2' x 2' grid. 2" thick cement bricks can be used to prop up either one to get it up in the center of the slab.
Both provide additional strength and support to the patio slab, especially in areas where heavy loads are expected.
step 4: pouring and finishing a concrete patio slab
Once you've prepared the site and built the forms, it's time to pour and finish the concrete for your patio.
Here's how to do it:
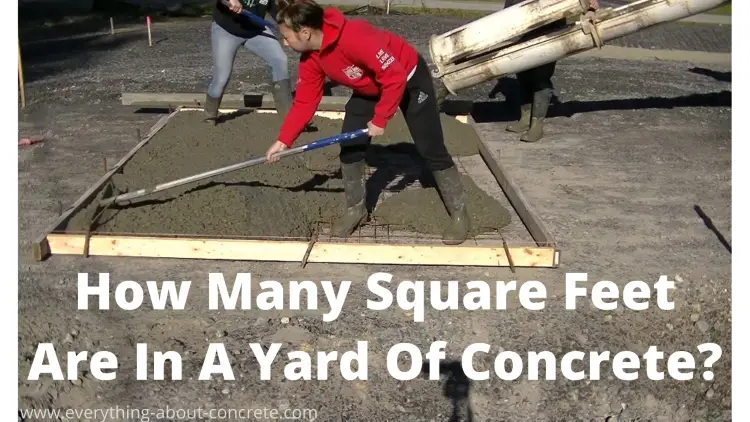
- Start by mixing concrete according to the instructions on the bag. You can mix it in a wheelbarrow or a mixing tub. For a standard 10' x 10' x 4" patio, you'll need about 1.25 cubic yards of concrete. Use my concrete calculator to calculate how much concrete you need.
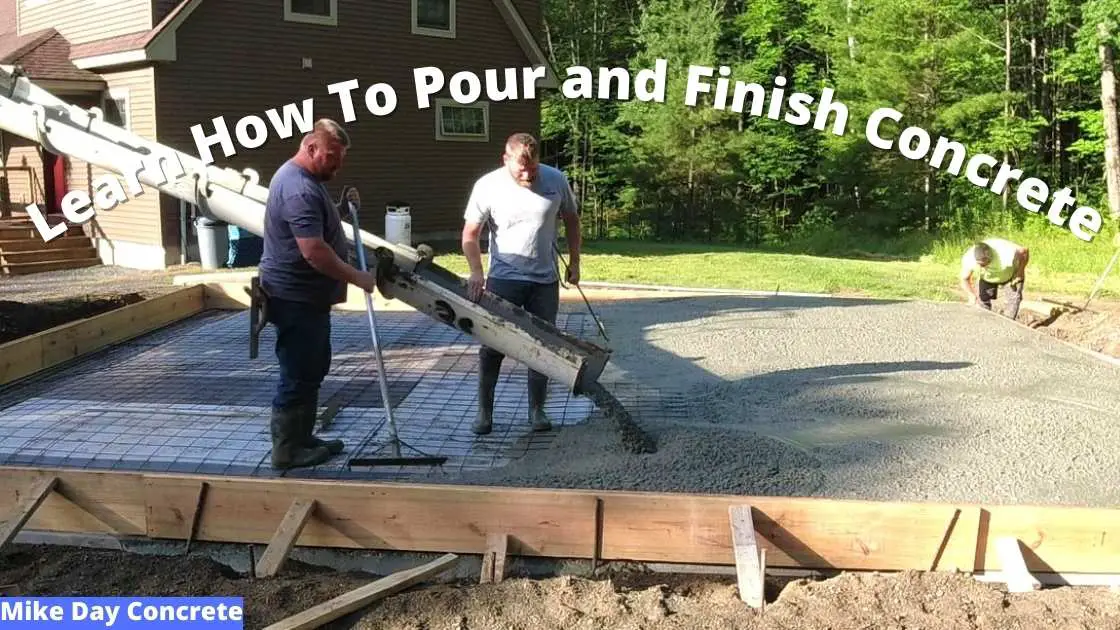
- You can also use ready-mix concrete and have the concrete delivered in a concrete truck.
- Pour concrete into the forms, starting at one end and working your way to the other. Use a shovel, a magnesium hand float, and a concrete rake to move the concrete around, filling the area even with the tops of your forms.
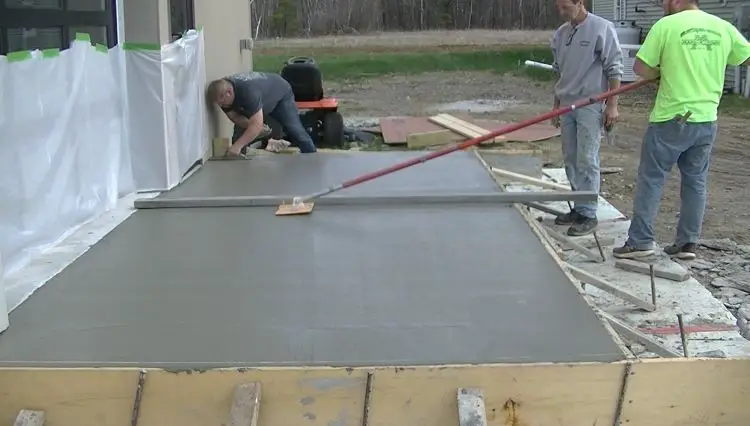
- Once you've poured the concrete, use a screed to level the concrete. Start at one end and move the screed board back and forth (in a sawing motion) while pulling it towards you. This will help you to level it and get a flat surface.
- Use a bull float to smooth the concrete surface. This will also help to level it and remove any air pockets. Move the bull float back and forth in a forward and backward motion across the slab, do this right after you screed.
- Use an edger to create a rounded edge along the outside of the forms. This will give your patio a finished look.
- After the concrete has set for a bit (usually about 20 - 60 minutes), use a hand float to smooth out any rough spots or ridges on the surface.
- Finally, use a broom to create a non-slip broom finish surface by making light strokes across the surface of the concrete. Now, let the concrete cure for at least 48 hours before removing the forms.
For more insight and training on how to form, pour, and finish concrete patios, you can join The Concrete Underground and learn from my concrete training videos.
Why you want to install control joints
Using a concrete groover or jointer is a good idea for controlling cracking in a concrete patio because it allows you to create a straight and consistent groove or joint that will act as a weak point in the concrete slab.
When concrete dries and cures, it shrinks as it loses moisture. This shrinkage can cause cracking in the concrete, especially if it's poured in a large area like a patio.
By using a groover or jointer, you can create grooves or lines in the surface of the concrete, which will create a controlled path for the concrete to crack when it inevitably shrinks.
By creating these controlled joints or grooves, you're effectively dividing the concrete into smaller sections, which will reduce the chances of random cracks forming across the entire surface of the patio.
These expansion joints are installed soon after bull floating and while the concrete is still quite soft.
I recommend installing control joints for any patio size that's larger than 10' x 10'.
step 5: Let the concrete cure before using it
After the final finishing of your concrete patio, it's important to allow it to cure properly to help prevent cracking.
Here are some tips on curing and maintaining your new concrete patio:
- Allow the concrete to cure for at least 7 days before subjecting it to heavy foot traffic or placing furniture on it.
- While the concrete cures, keep the concrete moist by misting it with water once or twice a day. I don't recommend covering the patio surface with plastic sheeting to cure it as this can leave permanent shadowing lines over the entire patio.
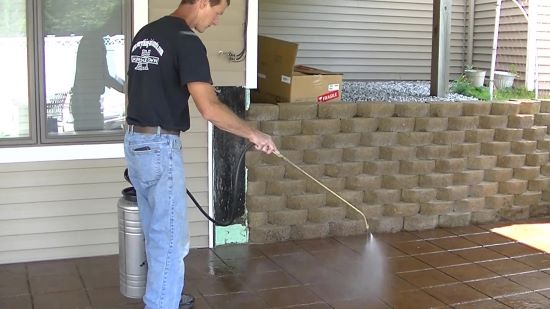
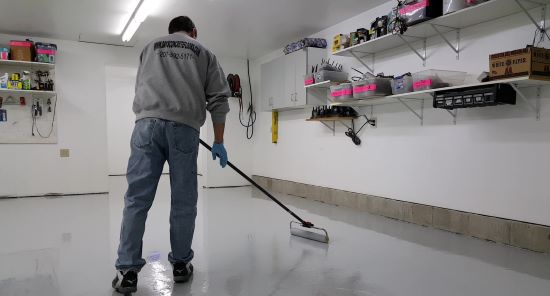
- After the concrete has cured, apply a concrete curing compound to protect it from moisture, stains, and UV rays. Follow the instructions on the sealer carefully and apply it in thin, even coats.
- Regularly clean your concrete patio by sweeping, leaf blowing, or hosing it off. Avoid using harsh chemicals or power washers, as they can damage the surface of the concrete.
- If you notice any cracks or damage to the surface of the concrete, repair them promptly to prevent further damage.
can i do my own concrete patio?
Yes, a beginner or DIY'er can do their own concrete patio with the right preparation, tools, and guidance. While concrete work can seem intimidating, there are many resources available, like The Concrete Underground, to help make the process easier and more manageable.
in conclusion:
Congratulations! You've now learned the basic steps for building your own DIY concrete patio. With careful planning, the right tools, preparation, and a bit of effort, you can create your own concrete patio that's beautiful and durable and will last for years to come.
Remember to take the time to plan and prepare your project thoroughly, including measuring and marking the area, excavating the site, and installing a proper sub-base. Also, make sure to check your local building codes and get a permit if it's required.
Building a sturdy wood form will help you pour the concrete in the desired shape and size, and adding reinforcement like wire mesh or rebar will increase the strength and longevity of your patio.
As with any home improvement project, safety should be a top priority. Wear rubber boots, wear gloves, and safety glasses, and take precautions when using power tools or handling heavy materials.
Finally, don't hesitate to ask me for help or guidance in my private concrete training group, The Concrete Underground if you need it. Consulting with a professional or expert can save you time and money in the long run and help ensure that your DIY concrete patio turns out as you envisioned it.
By following these steps and taking the necessary precautions, you'll be on your way to creating a beautiful and functional concrete patio that you can enjoy for years to come.
Other pages you may like:
